Gitcoin Passport —A Step By Step Guide To Reach Over 30 Points as an Ordinary User Like MeBefore starting the article, I want you to know that this is a unique and the first of its kind for Gitcoin Passport. So, don’t forget to follow me! This helps content creators considerably. Thanks!
What is Gitcoin Passport ?
Gitcoin Passport is an anti-sybil verification assigned to a specific wallet on the blockchain and based on its on-chain and social activities.
This is the tool that should help projects to more accurately separate users into ordinary and Sybil.
Most likely, the next airdrops, starting with LayerZero Labs , will be distributed taking into account the user’s Gitcoin Passport.

In this article, we will complete each stamp together and determine how many points we will earn for completing each one.
So let`s jump to it :
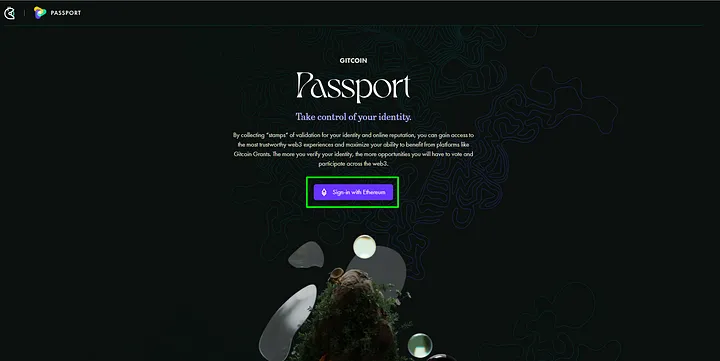
Go to https://passport.gitcoin.co & Connect your wallet.
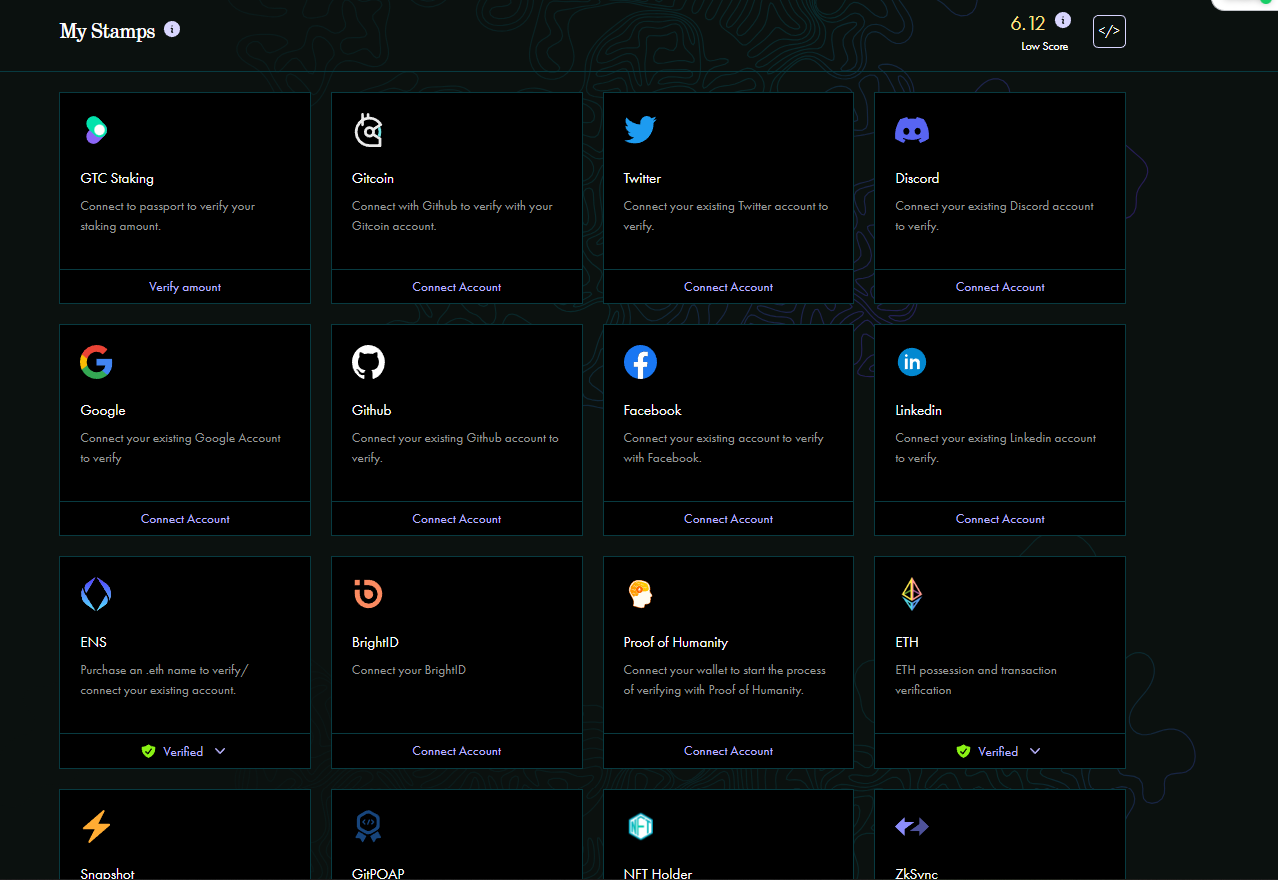
Now you will be viewing this page
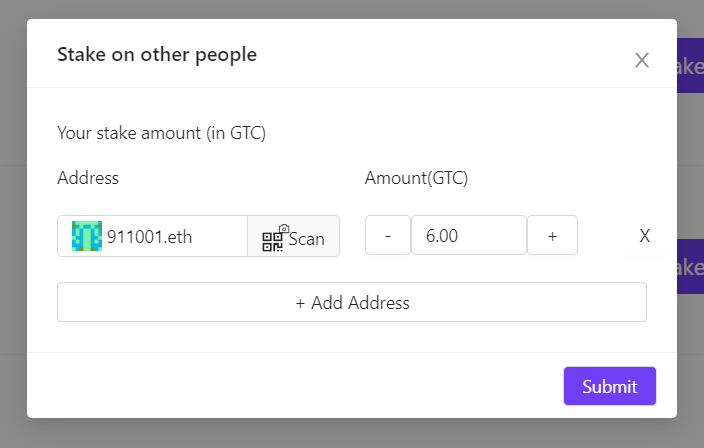
Step 1 : GTC Staking
GTC is the Gitcoin Token that we will stake, and we will earn approximately 5 points for this stamp.
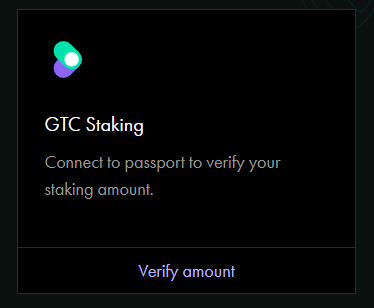
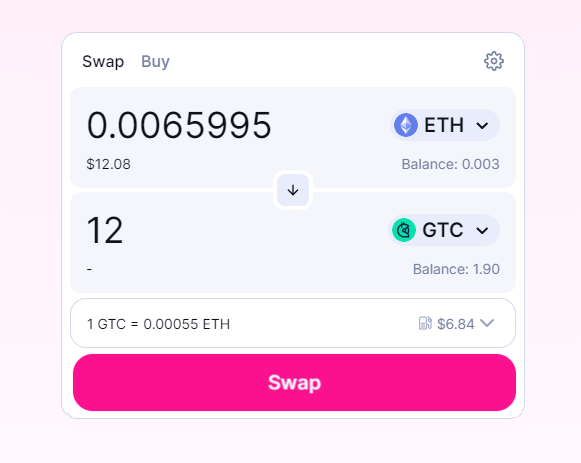
For this stamp, we need 10–12 GTC tokens on the Ethereum mainnet. To proceed, go to: https://app.uniswap.org
Buy 12 GTC token
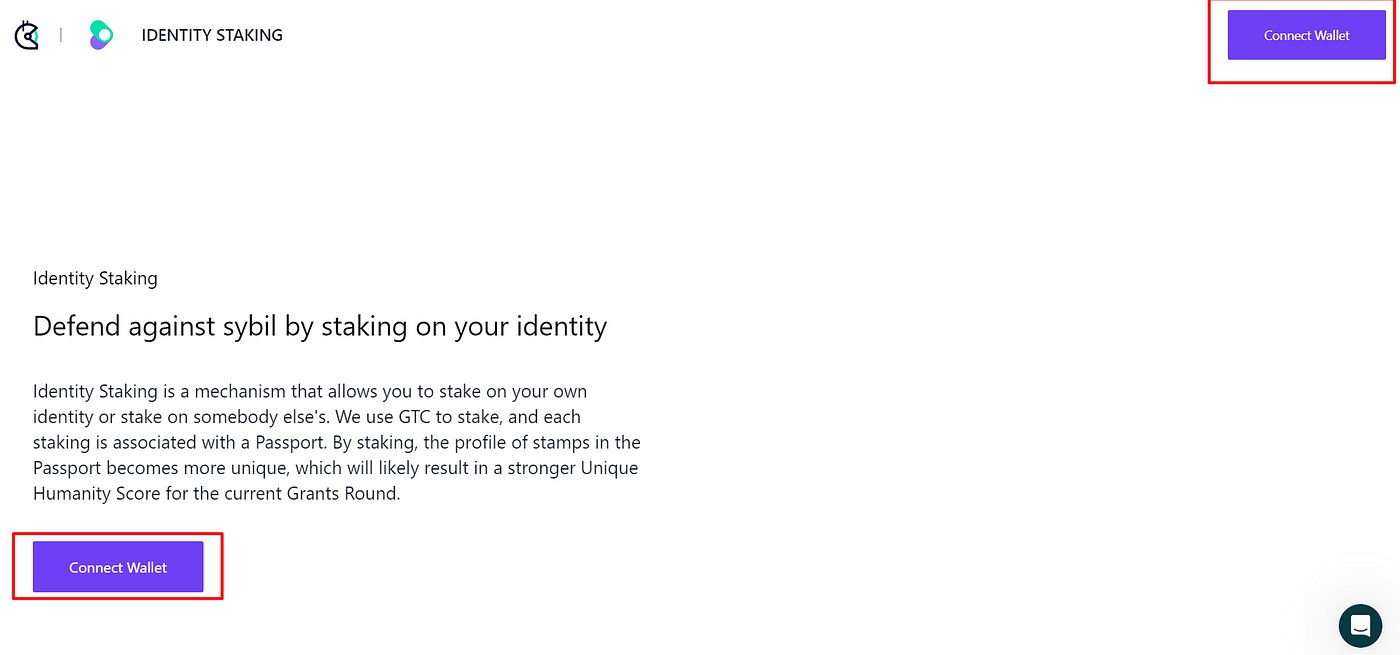
Now Go to : https://www.staking.passport.gitcoin.co
Connect Your Wallet
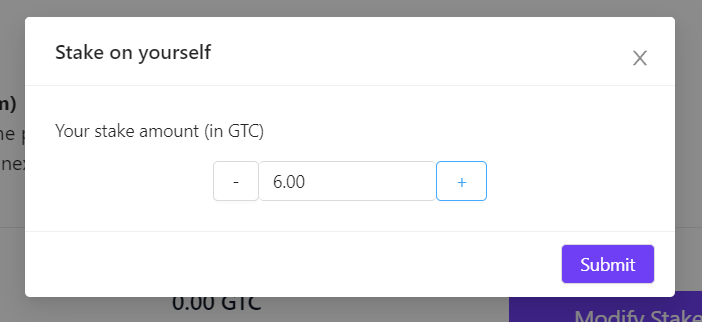
Stake 6 GTC in Self Staking

Then Put Stake 6 GTC in Community Staking
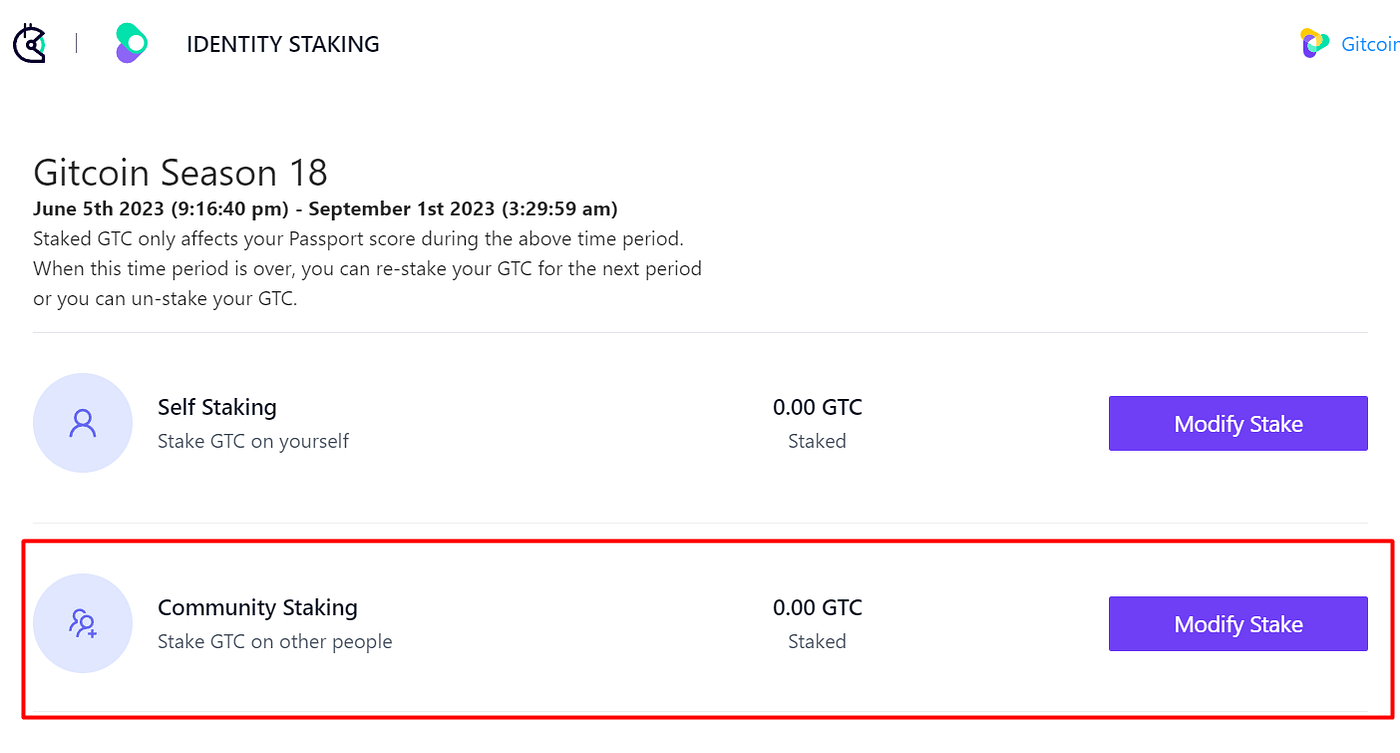
Input a new address “not your own address”
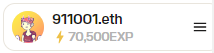
You can easily use my address for community staking : 911001.eth
Step 2 : GitCoin
To complete this stamp, we must have already made at least one donation on the Gitcoin Grants program.
There is currently no active grant program on Gitcoin, but you can still explore and check it out here: https://grants.gitcoin.co
Step 3 : Twitter
Easily connect your Twitter account to Gitcoin Passport.
There are three levels for it. If your Twitter account is more than 2 years old , you will receive full points for this stamp
For Twitter accounts created less than 90 days ago , no points will be awarded.
Step 4 : Discord
Easy , Just connect your Discord account
Step 5 : Google
Easy again , Just Connect Your Google account to Gitcoin Passport
Step 6 : GitHub
GitHub account and connecting it to Gitcoin Passport are sensitive matters, as the Gitcoin team and program will immediately suspend suspicious activities.
Therefore, make sure not to engage in any unusual activity to maintain a safe and secure experience
There are three levels for it. If your Github account is more than 2 years old , you will receive full points for this stamp
For GitHub accounts created less than 90 days ago , no points will be awarded.
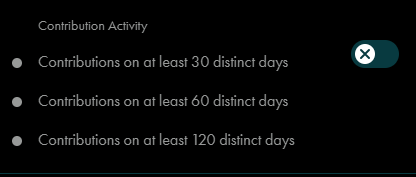
There are also three levels for Contribution Activity on GitHub. As an ordinary user like me, I don’t do any of these, so I will just skip this part.
Step 7 : FaceBook
Just Connet Your facebook account
Many users have privacy concerns about this task, so it’s optional for those kinds of users. However, I have already done it
Make sure to disable your popup blocker or any similar programs on your browser for the stamp, as I have spent many days dealing with this problem.

Step 8 : Linkedin
Easy Connect your Linkedin account to verify.
Step 9 : ENS
For this Stamp need Purchase an .eth name
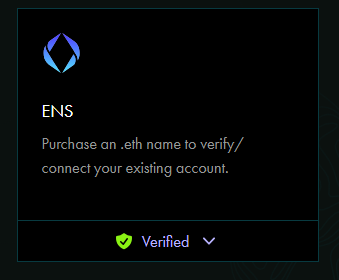
If you already have, just connect and verify to get your points. If you don’t, follow the steps below.
Go to : https://app.ens.domains
Search for the ENS domain that you like and check if it’s available or not
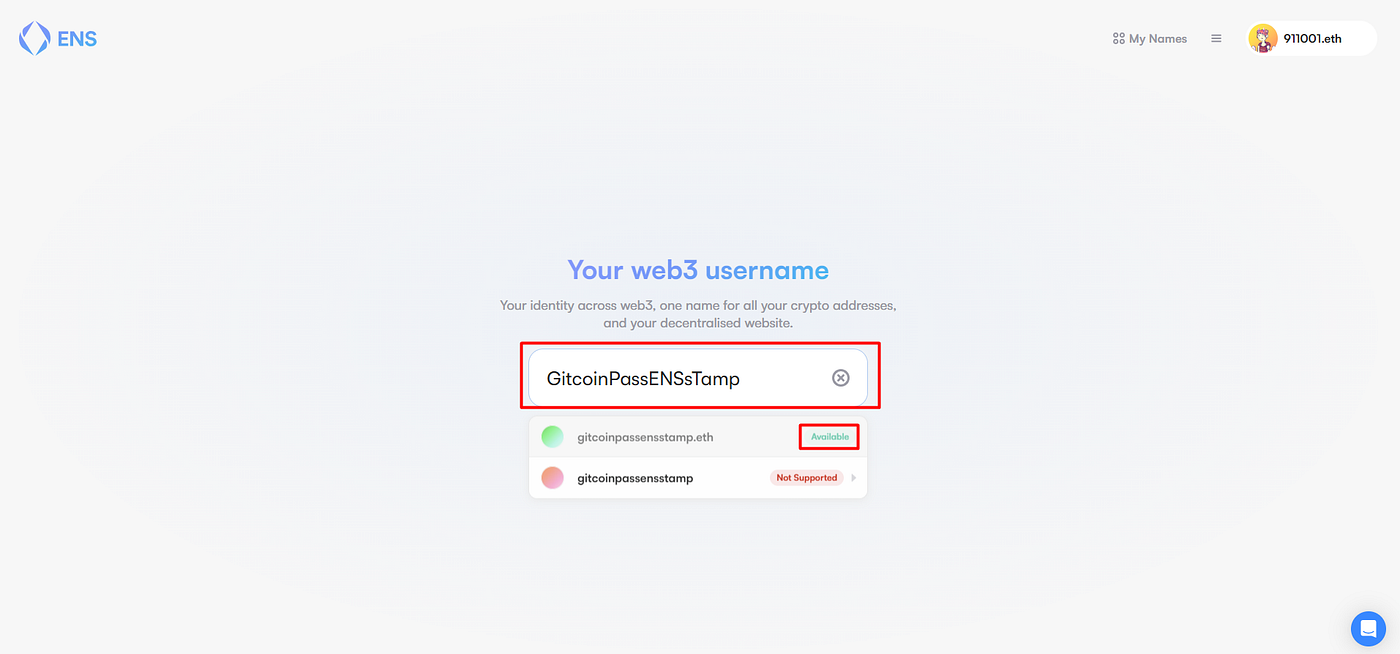
Get it
2- You can also use Space ID, which is my suggestion, as the ENS prices and fees are much lower than the main ENS
Go to : https://space.id?inviter=secretlab.arb and Connet Your wallet

Search for the domain that you like check if it’s available or not
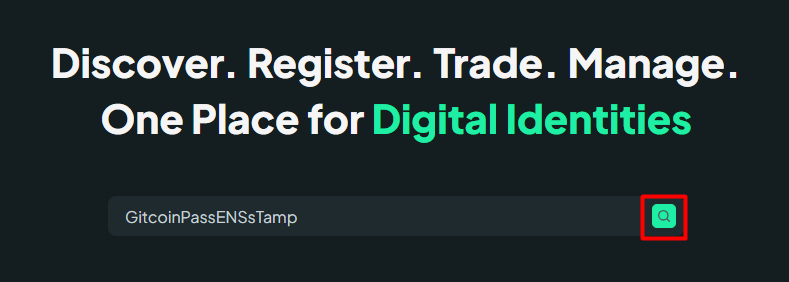
Check if it’s available or not

it`s Available on 3 chains (ETH , BNB , Arbitrum) but wee just need .ETH
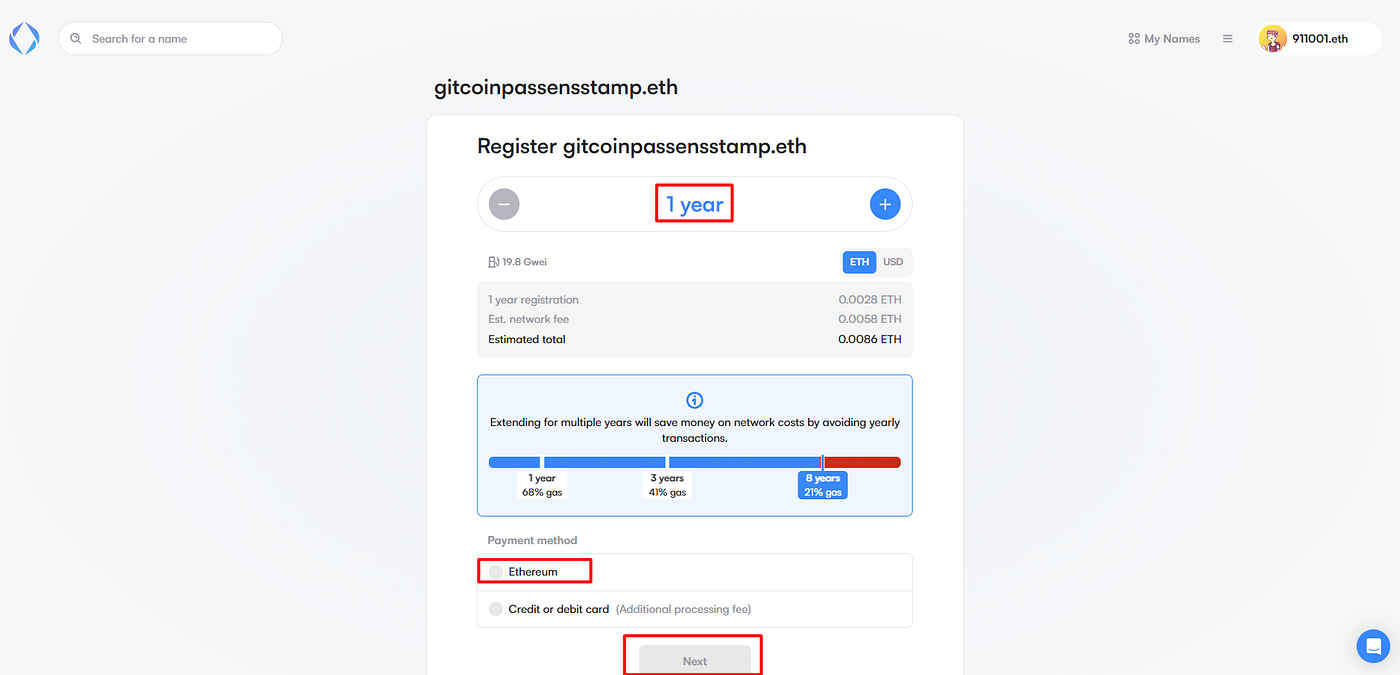
So Register it
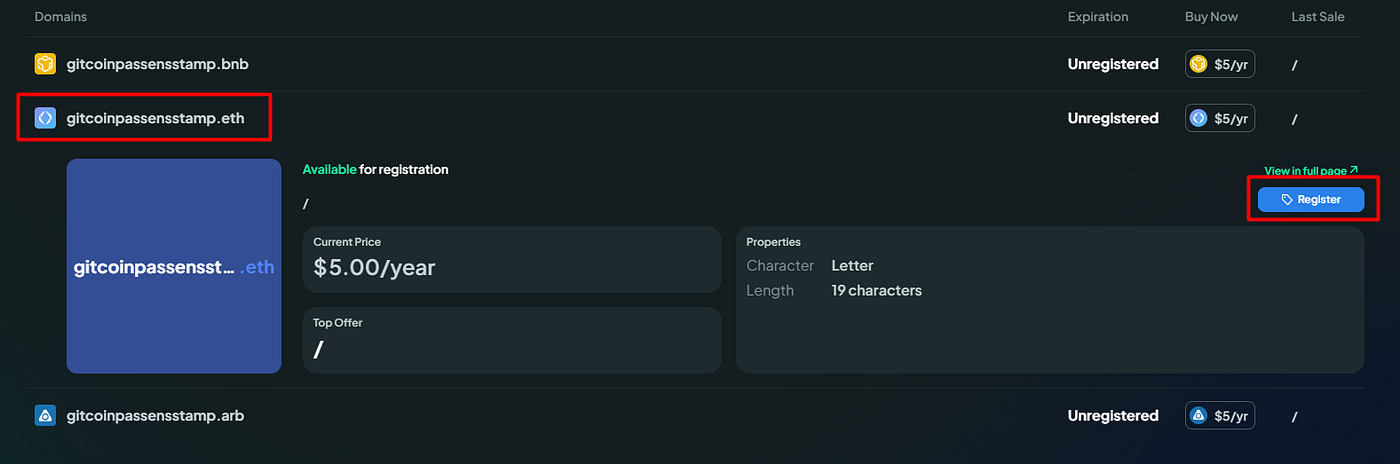
After successful registration, make sure to set it as your primary ENS

Step 10 : BrightIDStep 10 : BrightID
For this Stamp need to Connect your BrightID App (ios/Androin) to your gitcoin
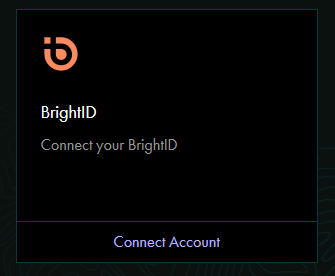
Click on Coonet Account and Click on Verify
Now follow steps :
1- Download the Bright ID App on your mobile device
2-Link Bright ID to Gitcoin by scanning this QR code from the Bright ID app, or clicking here from your mobile device.

Scan your personal QR code
3- Now Click Connect Bright ID to get sponsored by Gitcoin.

That’s it! You may encounter many errors for this stamp, so you just need to try again.
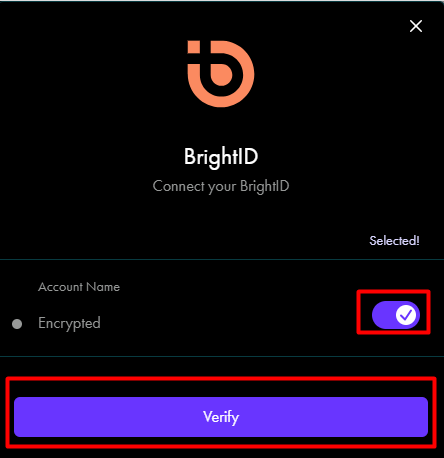
Step 11:Proof of Humanity

For this stamp, you need to send a photo and record a video by yourself to verify this task. I am passing on this one, but if you are interested in doing it, follow the instructions below :
Go to : https://app.proofofhumanity.id and connet your wallet

Now click on Sumbit a profile and complete all filed as instucter
Now, click on ‘Submit a Profile’ and complete all fields as instructed
Step 12 : ETH
Easy
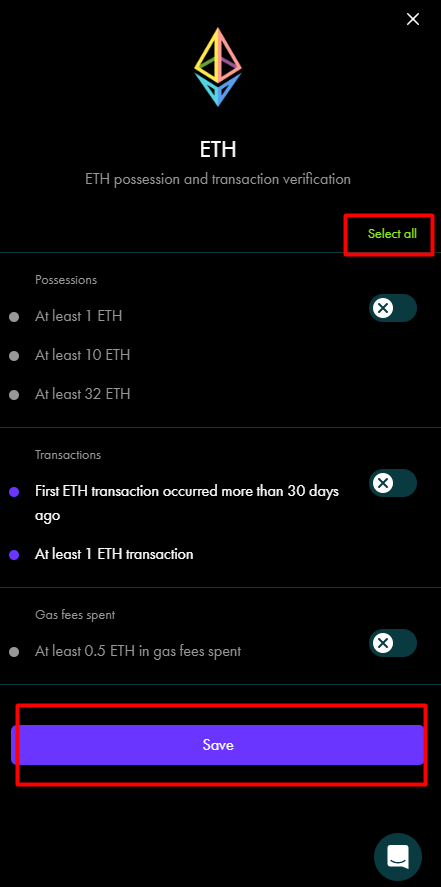
As a usual user, you can see that I have just passed the ETH transaction for this stamp
Step 13 : SnapShot
Snapshot is a voting platform with two tasks that need to be completed to earn the full points for this stamp:
Snapshot Voter and Snapshot Proposal Creator. Let’s go for it!”

Snapshot Voter
Go to : https://snapshot.org and Connet your wallet
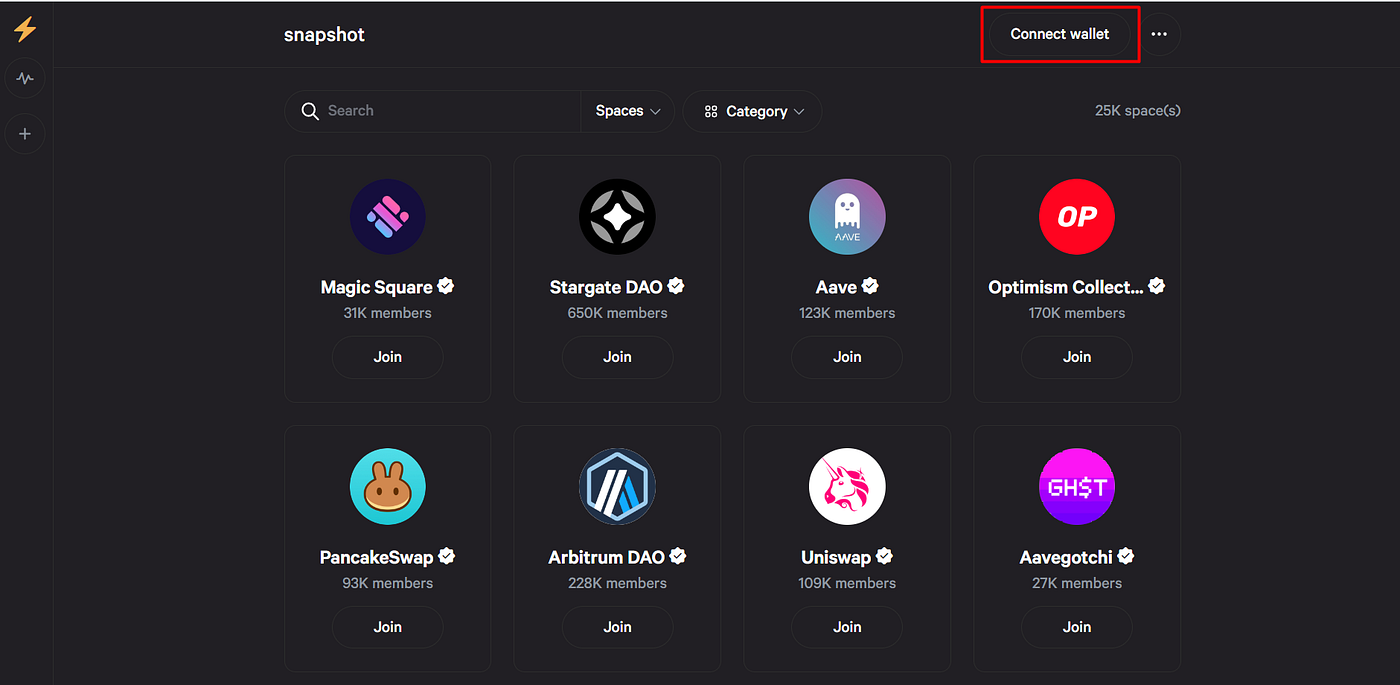
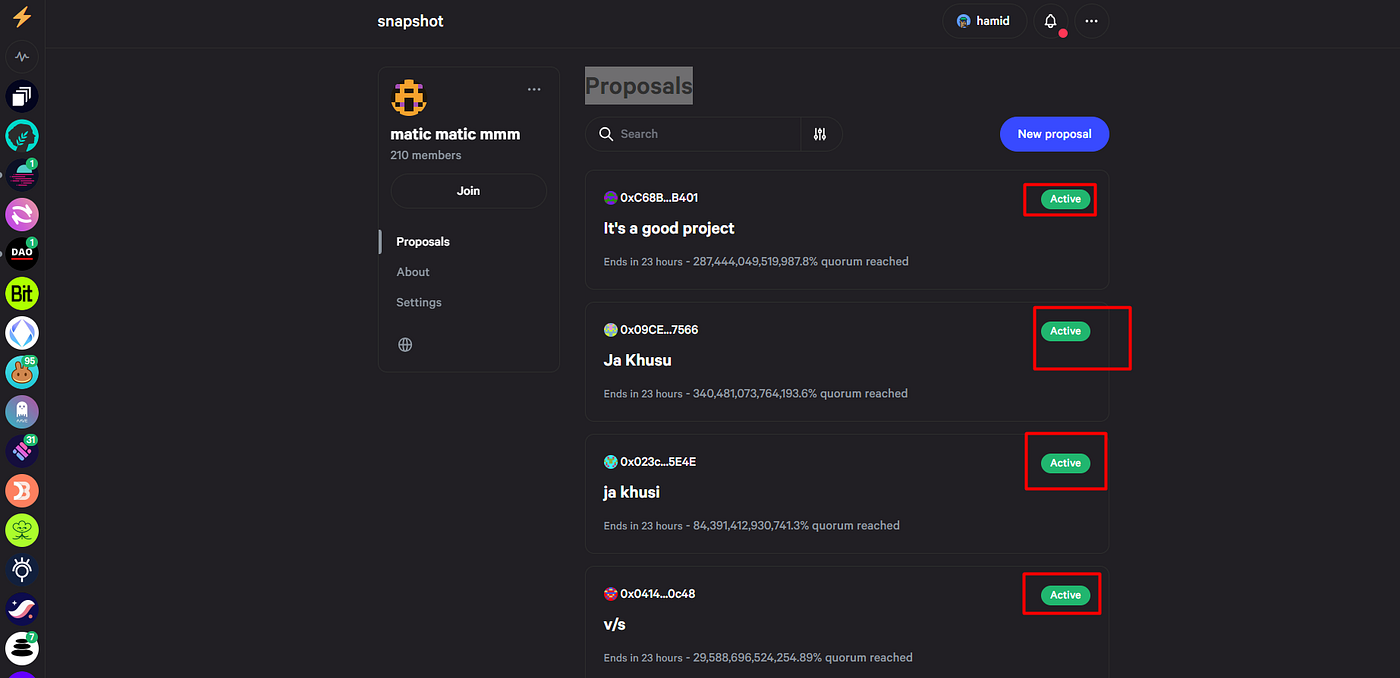
Now go to https://snapshot.org/#/mhhui88.eth and vote to some Avtive Proposals
you Need to have atleast 1 Matic on you wallet
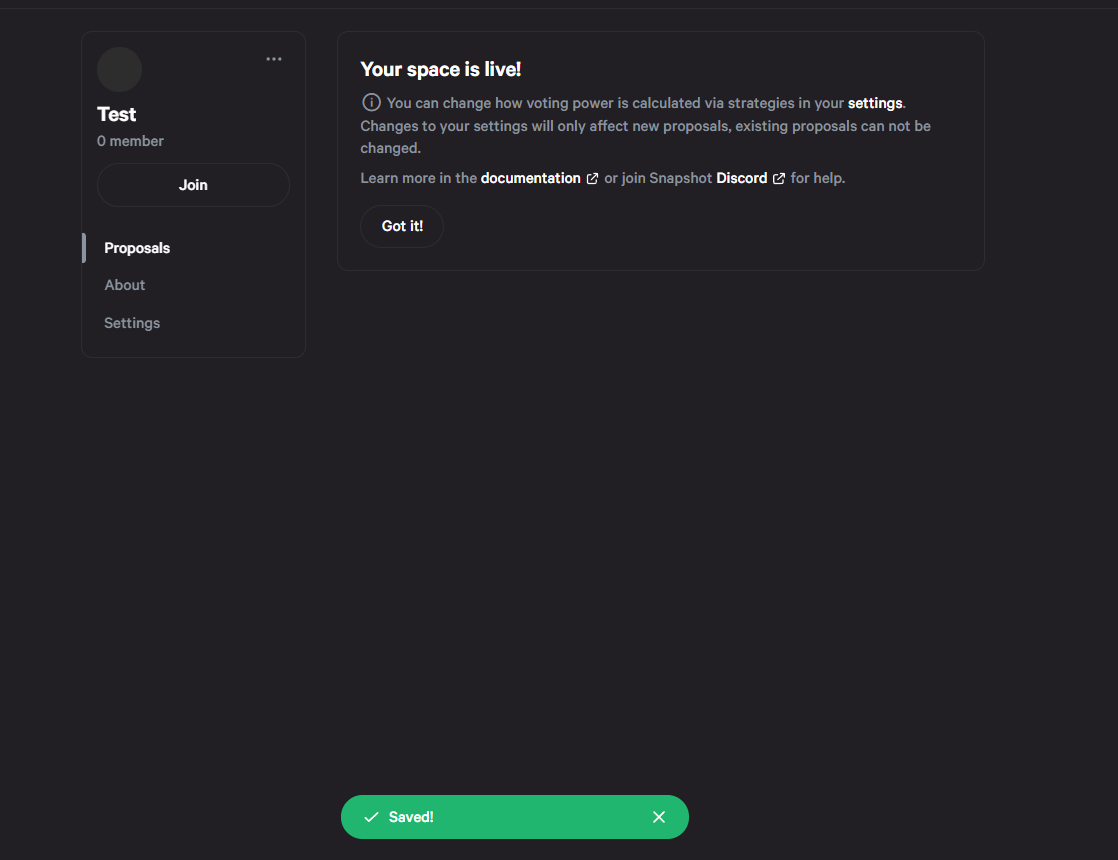
Snapshot Proposal Creator
Now click on … and then Click on Creat a Space
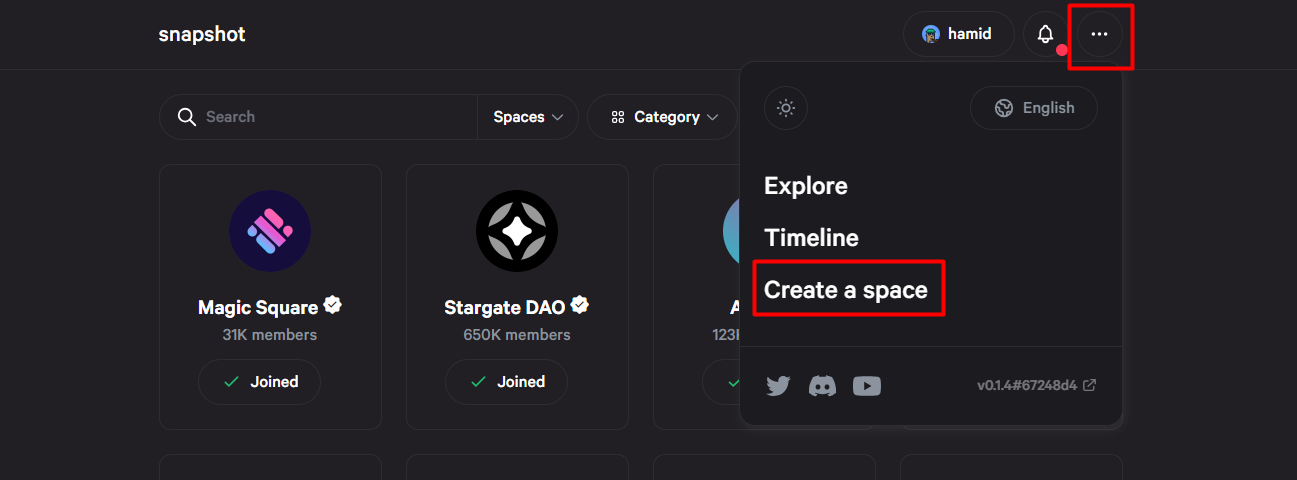
Get Started

Select Your ENS ( Nedd to Pass Step 9)
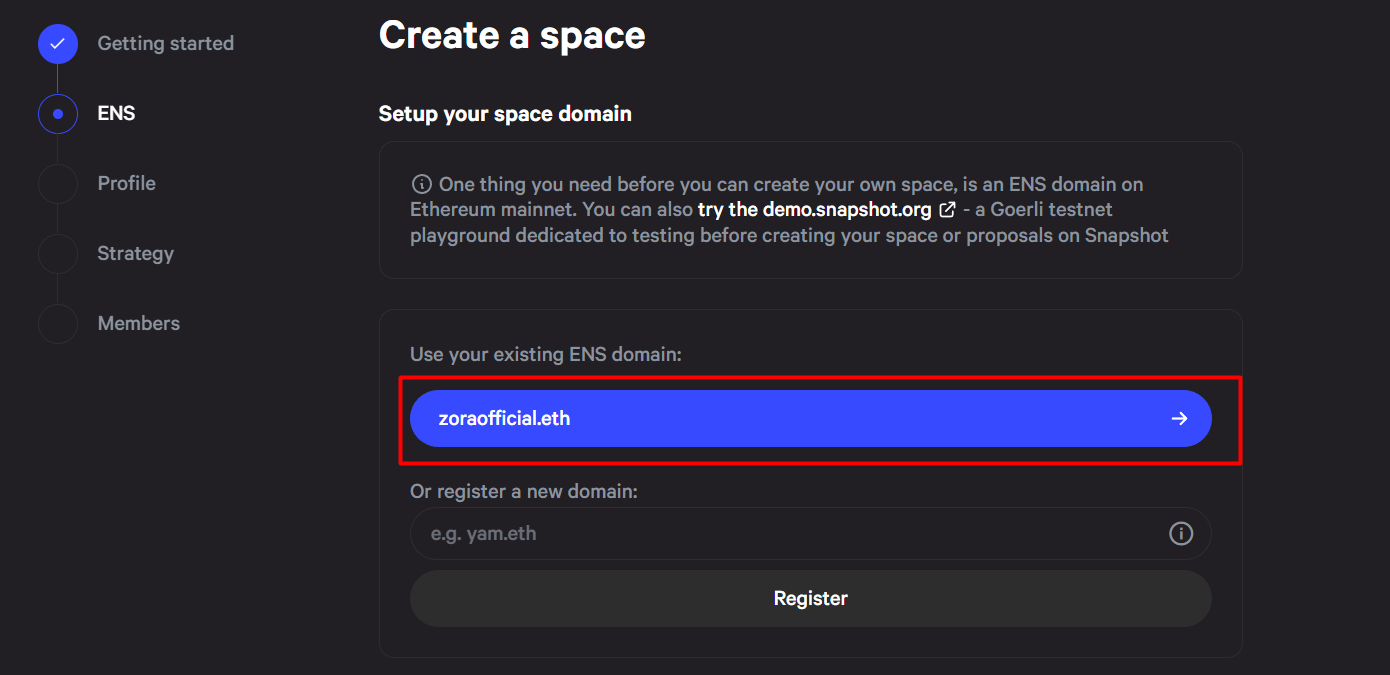
Inpute a Name and Next
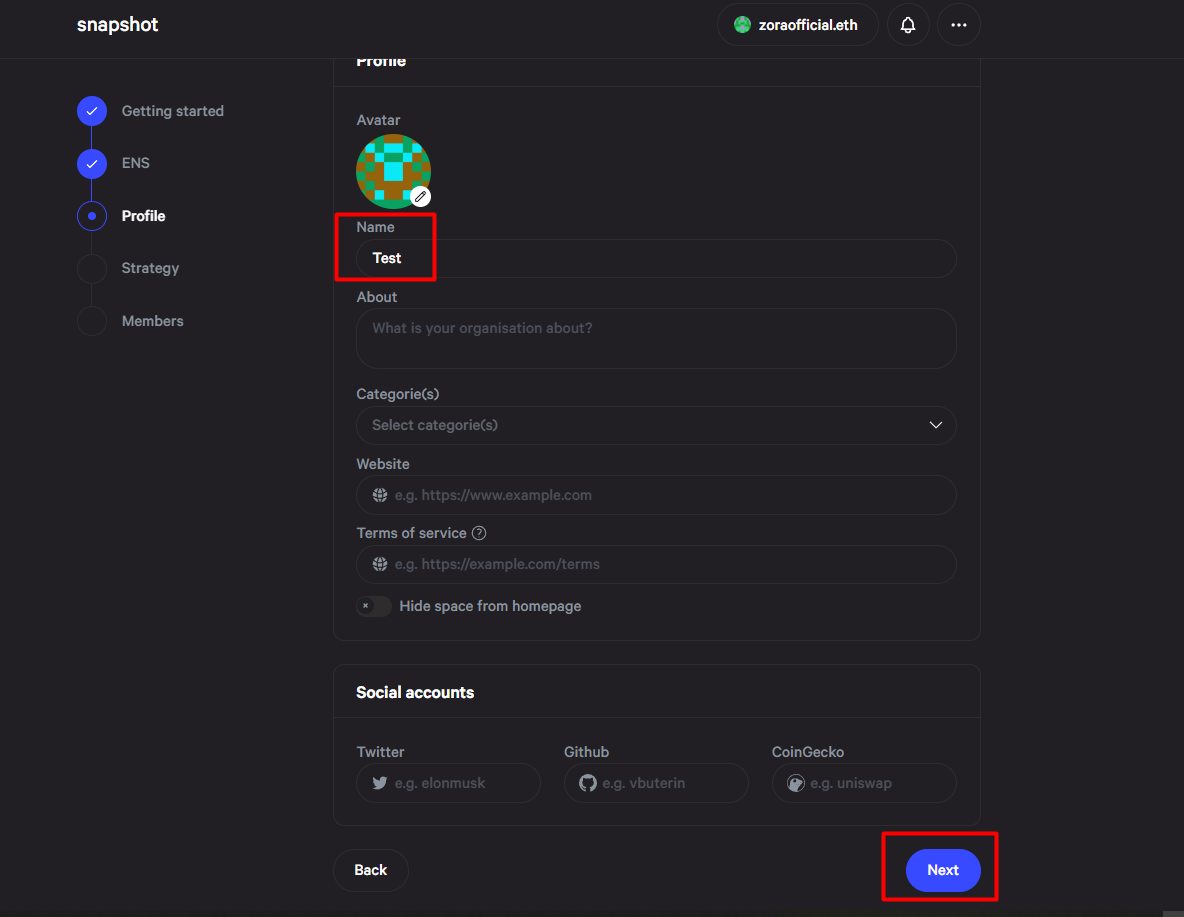
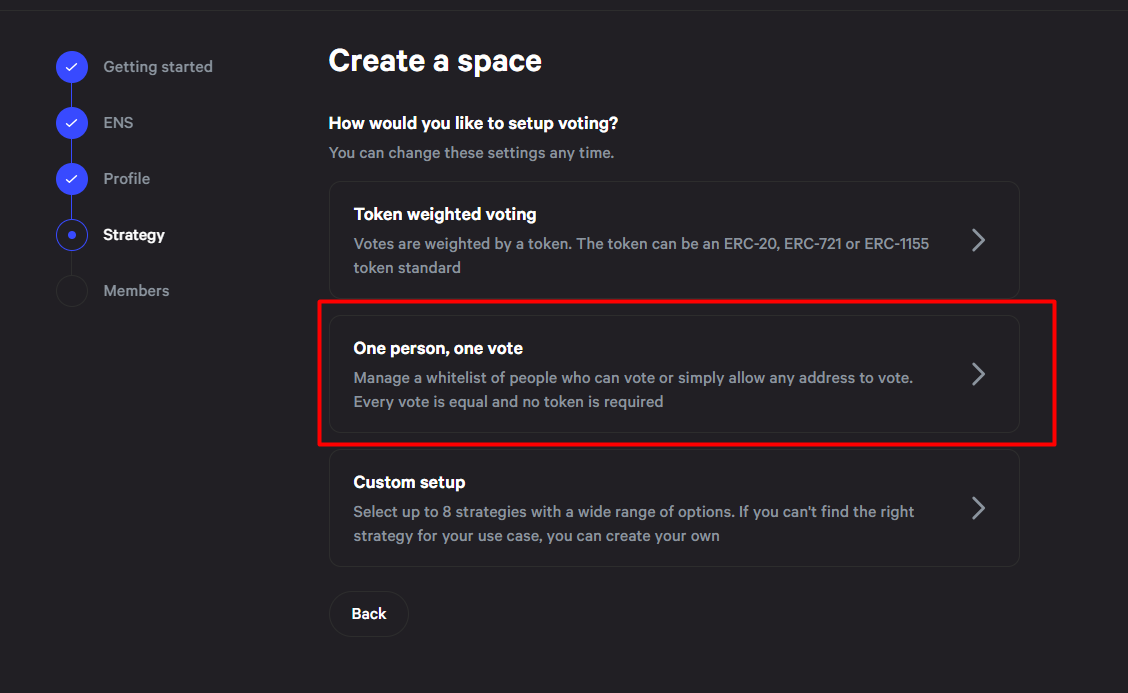
Select One Person , One Vote as Strategy
Add your Walelt Address or any address here
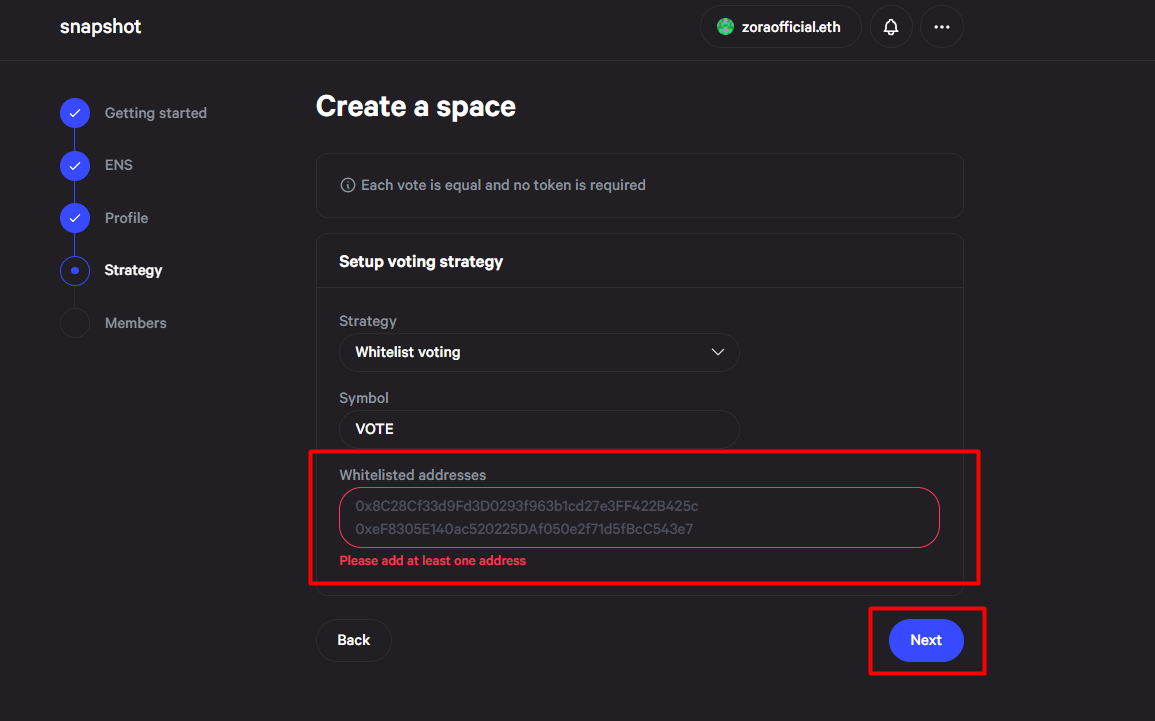
Next
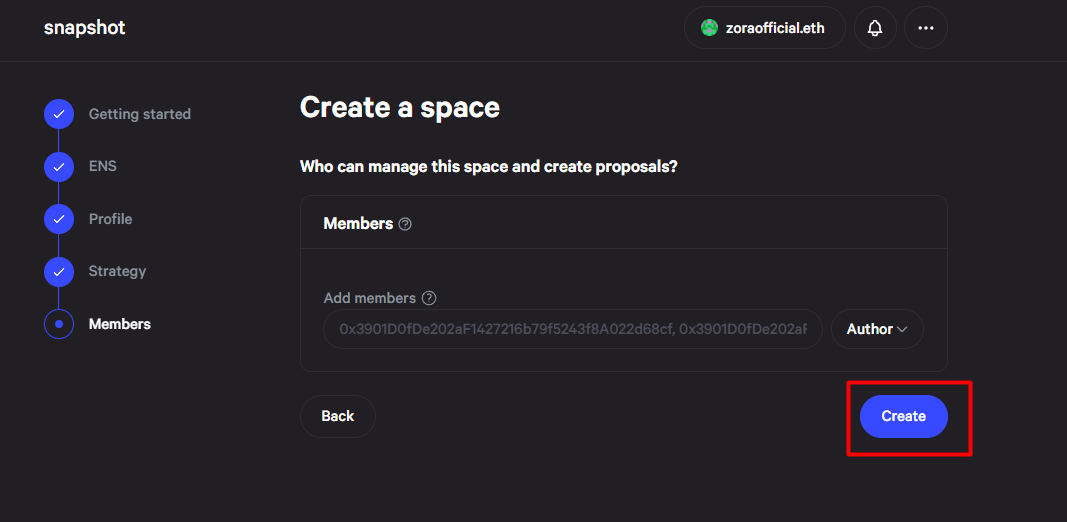
Sign in Your wallet and Done
Step 14 : GitPOAP
Need to have or Creat one POAP for this Stamp
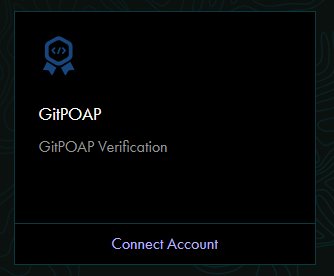
Go to : https://app.poap.xyz/scan
Enter your email address or Ethereum address/ENS name.
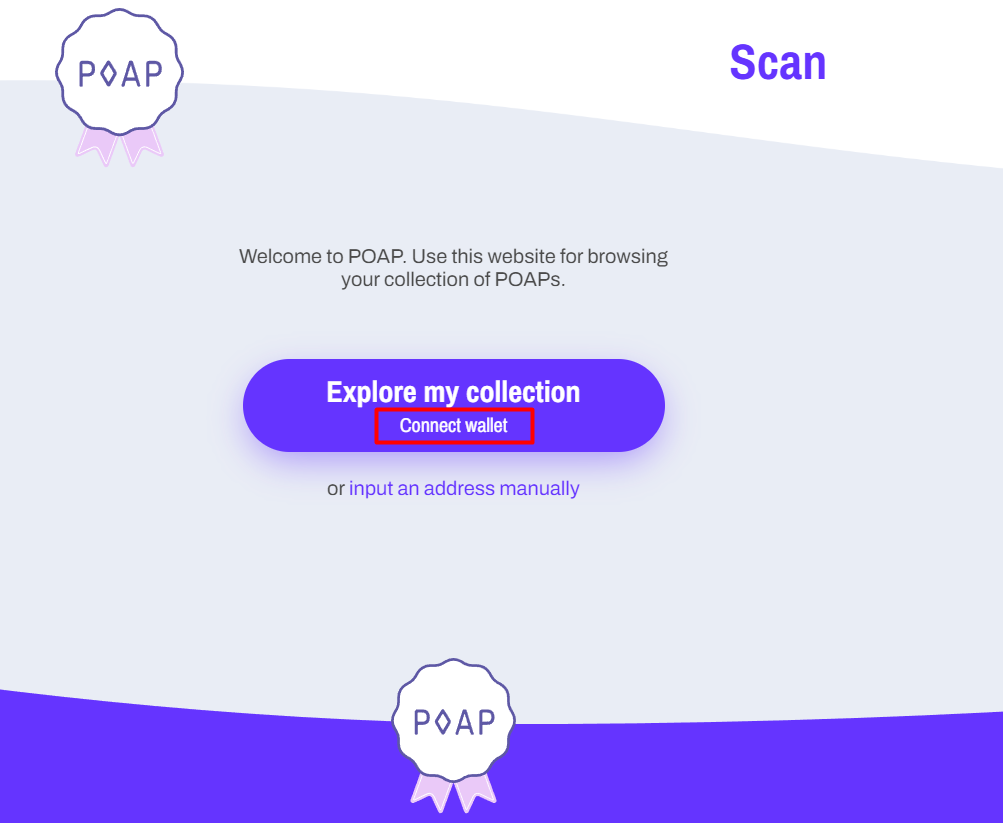
If you have any Unclaim POAP get it
Step 15 : NFT
For This Stamp need To have atleast One NFT on EthereumMainnet
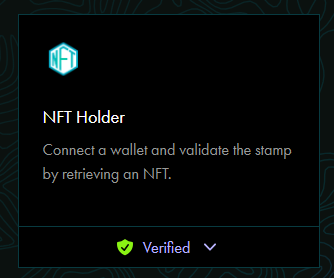
Currently, only recognize NFTs on the Ethereum main network. So you can’t get that stamp through your NFTs on
other networks.
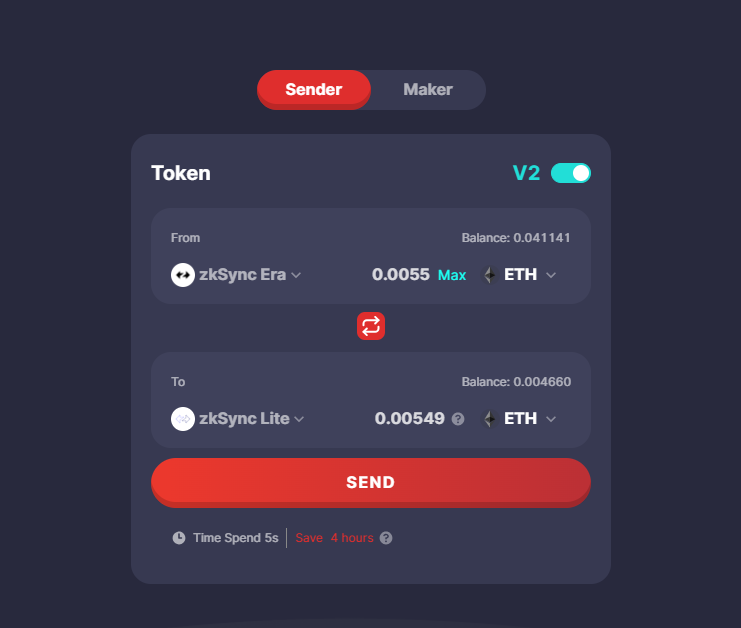
Step 16 : zkSync
Need To have atleast One Transaction on zkSync Era and zkSync Lite

Easiest and best way that i found is https://www.orbiter.finance
just need to Bridge some ETH from Era to lite and Bridge Back from Lite to Era
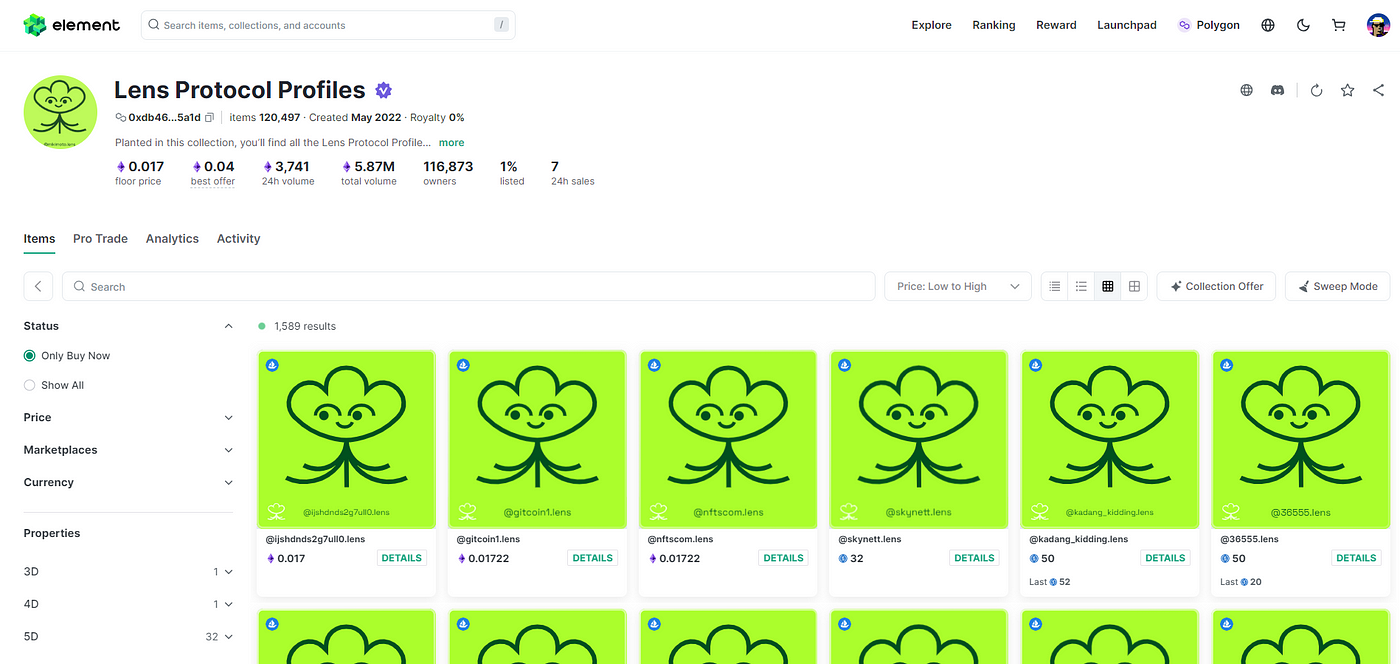
Step 17 : Lens
Need to Have At least 1 Lens Handle
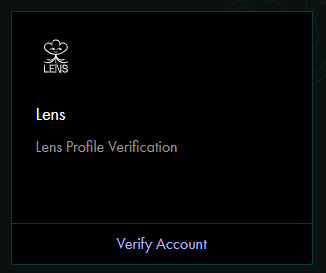
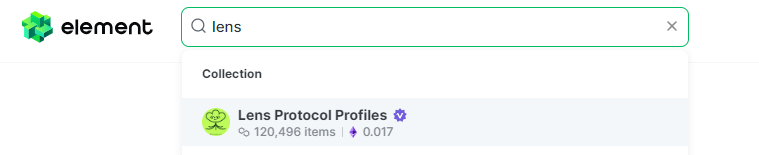
If you already have one, just verify and you’re done. But if you don’t have one, you can buy a Lens handle from Element
Market Here : https://element.market/invite?ref=DBV1
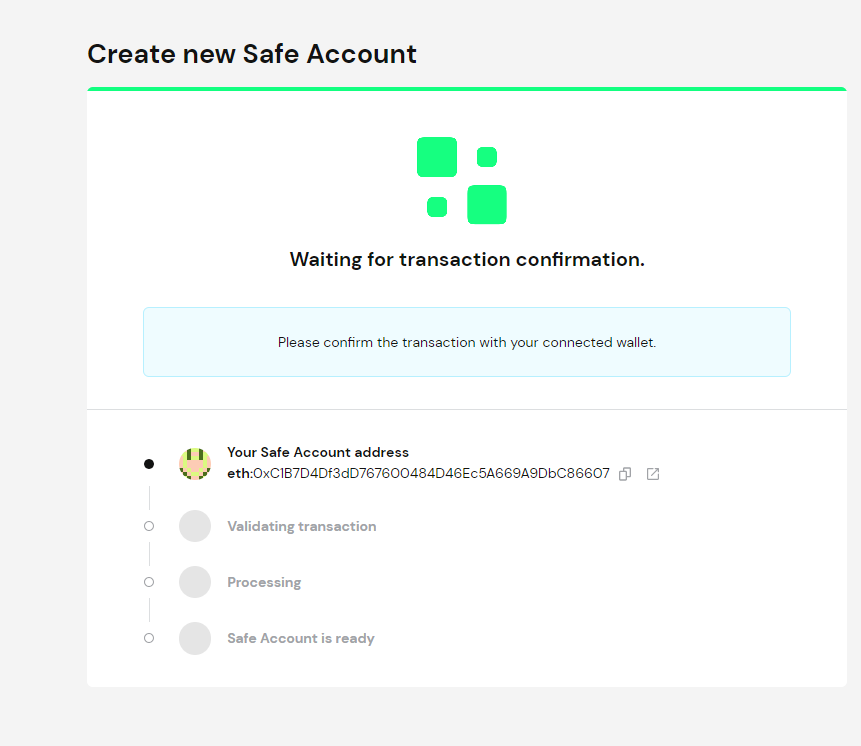
Step 18 : Gnosis Safe
Need a Gnosis Safe Multi signer Wallet

Go to : https://app.safe.global/welcome And Connect your wallet and the Creat a Safe Account

Select ETH network and Set a name

Add one or more signer Wallets for verification Transctions
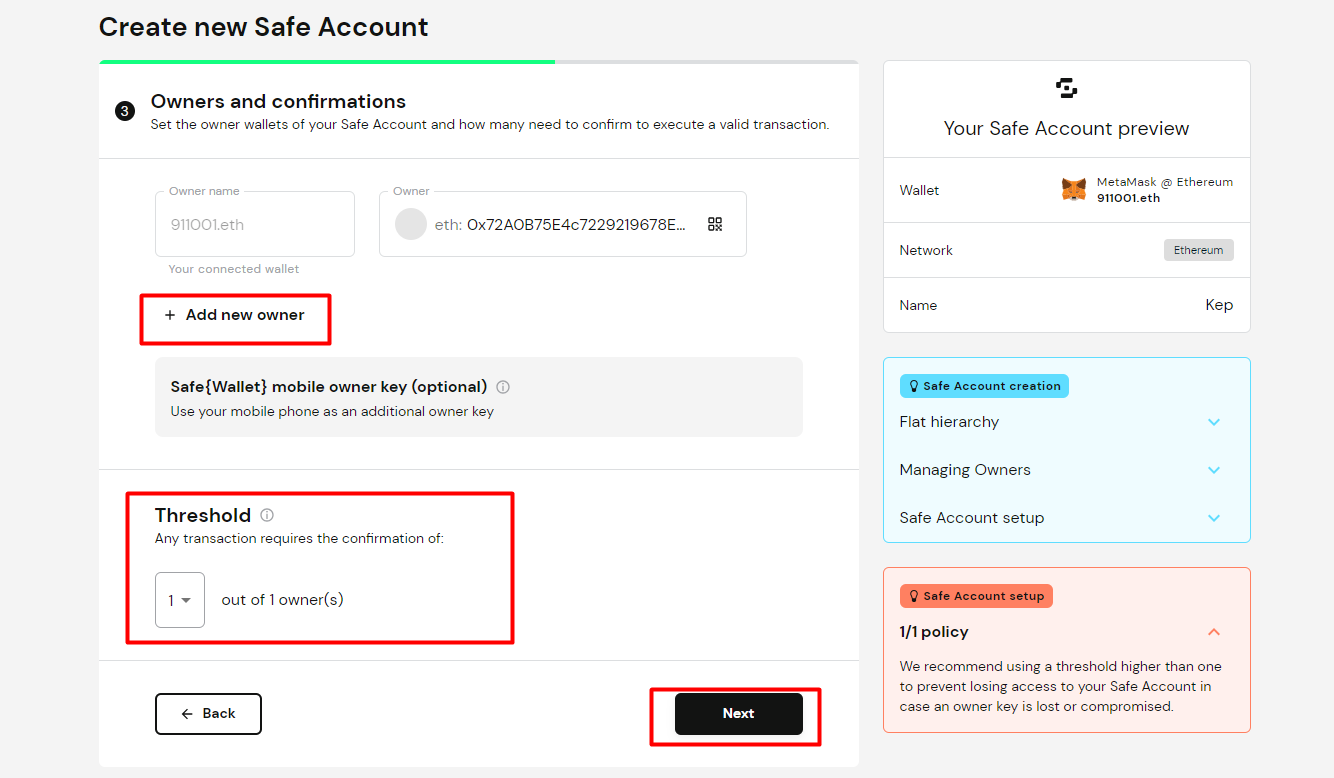
Review the details, pay the fee, and you’re done!

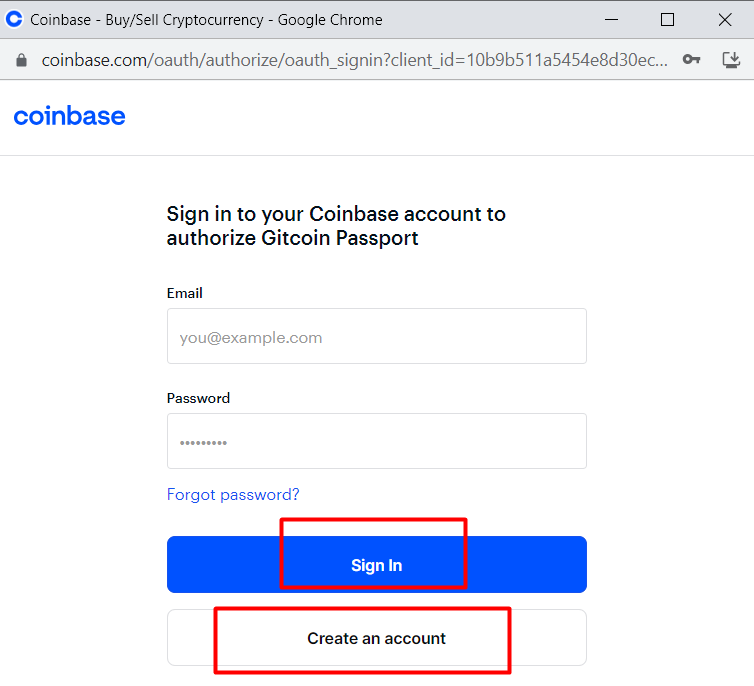
Step 19 : CoinBase
Click on ‘Verify’

Follow the instructions to verify your Coinbase account.
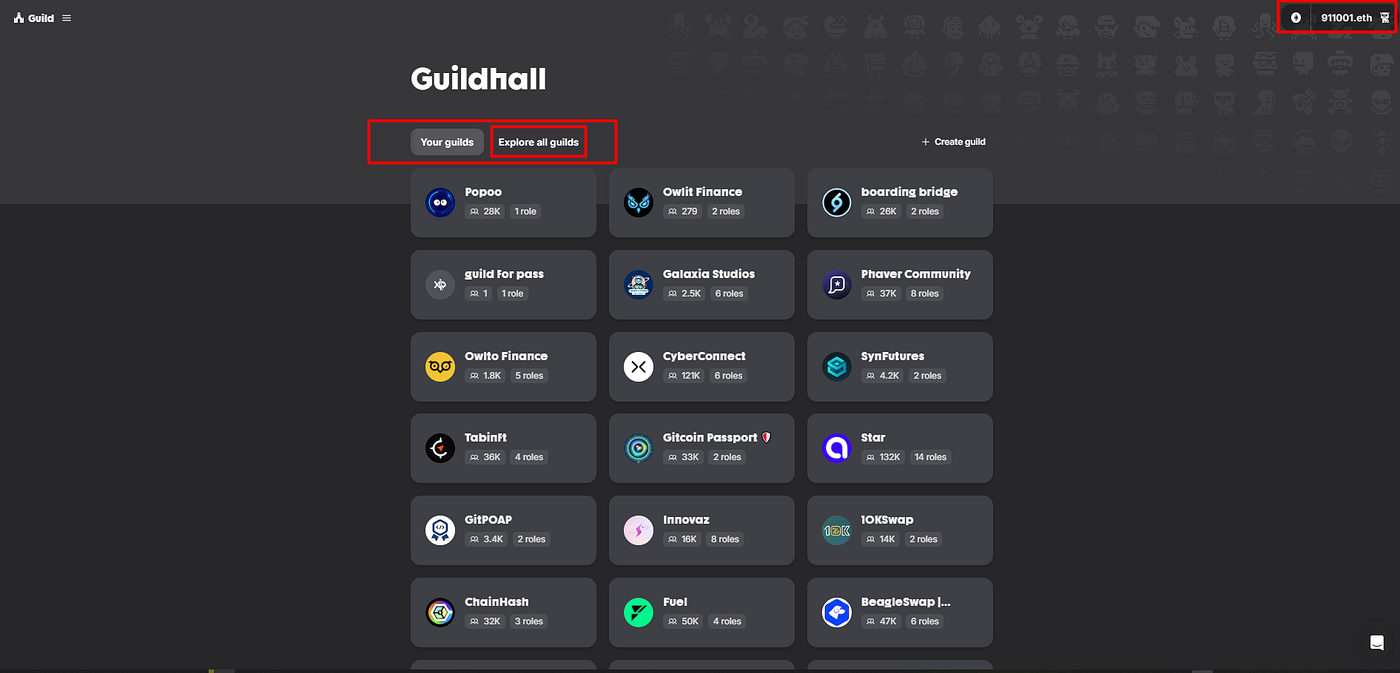
Step 20: Guild Membership and Roles
Member of more than 5 guilds and more than 15 roles
Owner or Administrator of one or more guilds
Member with 1 or more roles in Gitcoin Passport Guild
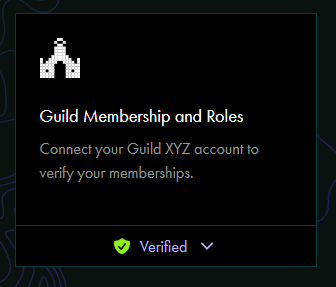
If you don`t have any Go to : https://guild.xyz/explorer
Connect your wallet and find some good projects. Try to get involved in some of them to complete this stamp.
Step 21 : Hypercerts
Need to Held at least two Hypercerts for more than 15 days

For sure, if you are an ordinary user like me, you may not even know what Hypercerts is. All we need to do is have two
of them and wait for 15 days for verification. Follow the instructions below :
Go to : https://hypercerts.org And Connect Your ETH GOEARLI wallet then Click on Creat
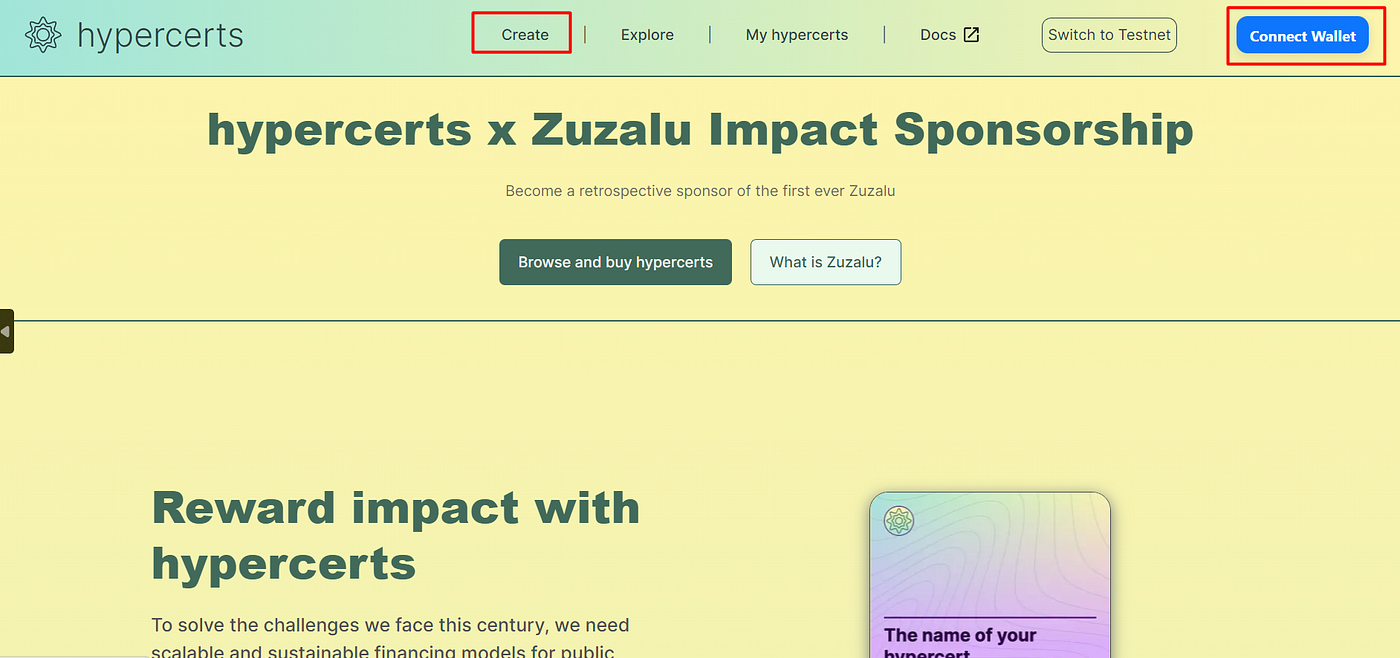
Now just complete Description filed and List of Contributors to the Work Filed and Click on Creat
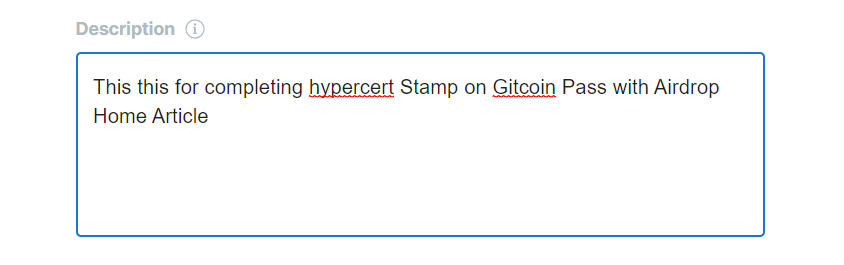
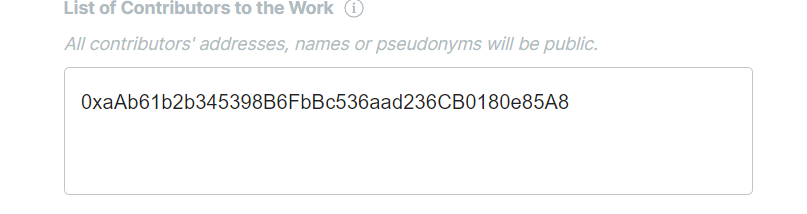
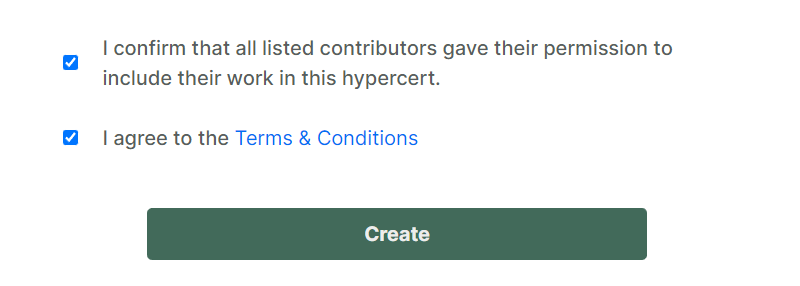
Confirm in wallet and we are Done.
Do this instruction one more time because we need 2 Hypercerts for this stamp. Then wait for 15 days and verify this
stamp to get your points.

Step 22 : PHI
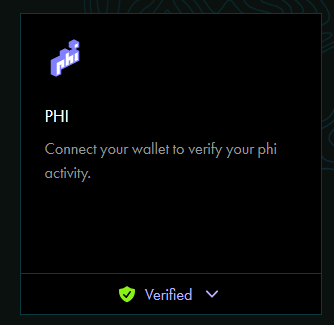
Go to : https://quest.philand.xyz
Connect Your Polygon Wallet and then Click on Quest List
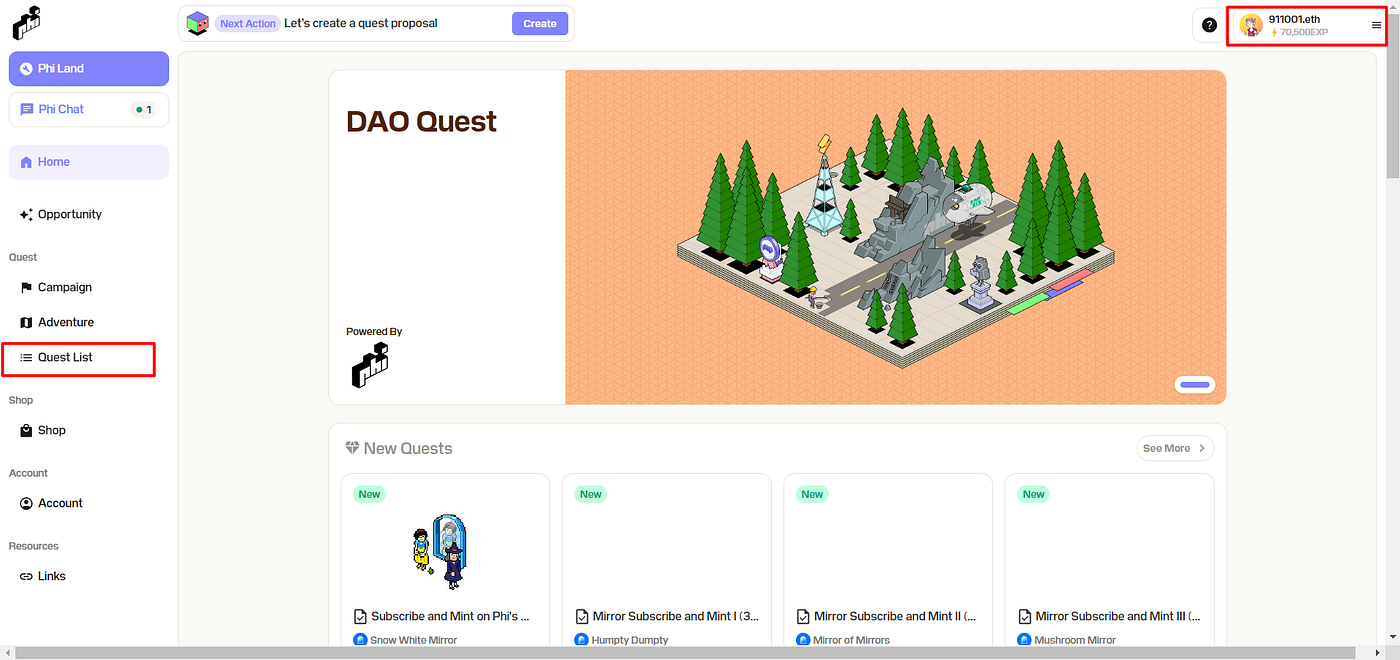
Click on “Check All Eligibility” and Claim All of UnClaimed Objects

For each object, you will earn XP. To complete this stamp, you need to earn 65,000 EXP
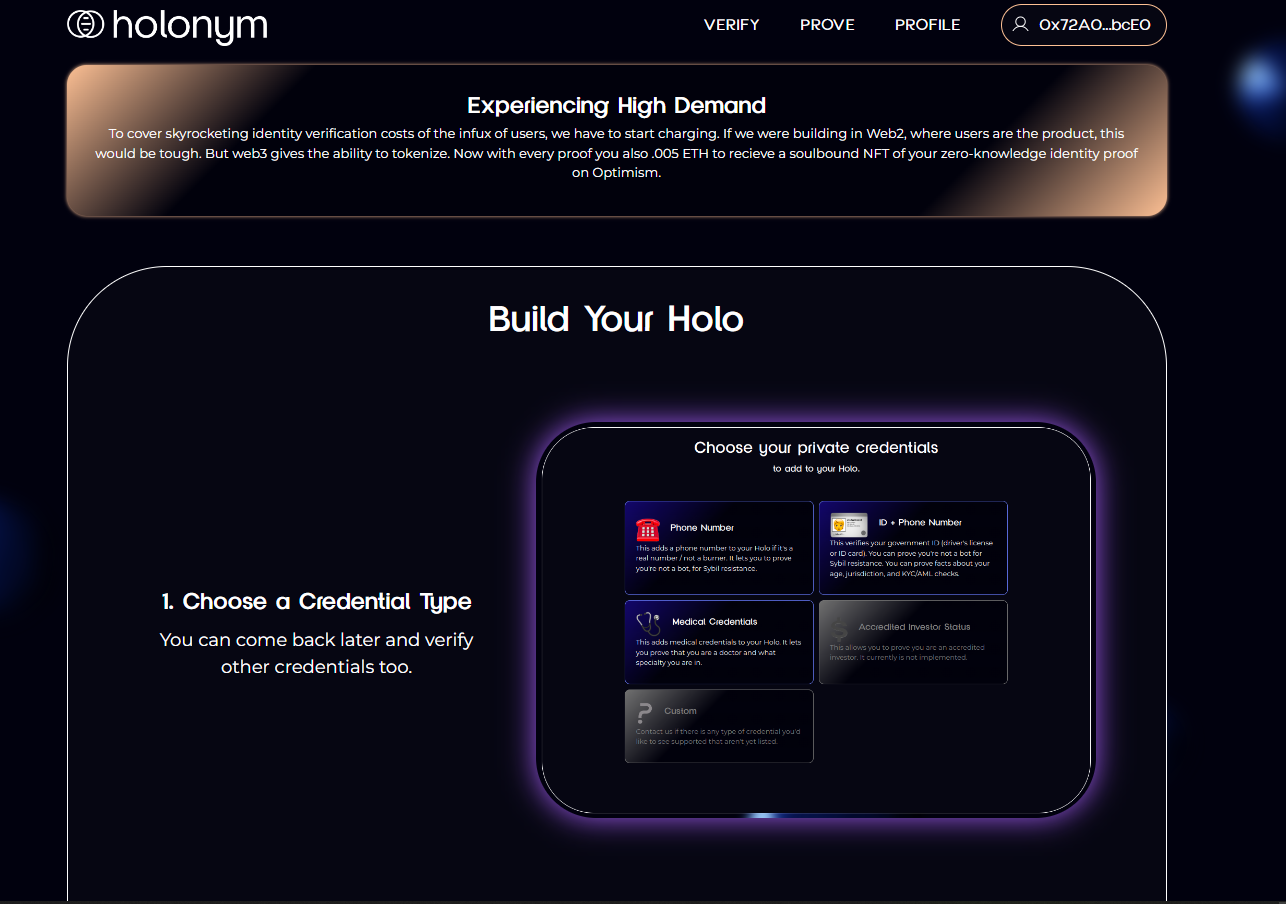
Step 23 : Holonym
For this stamp, you need to upload your IDs, but I am choosing to pass on this one due to privacy concerns
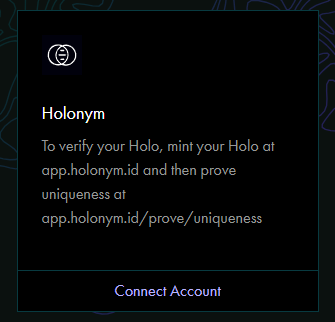
If You are intrested to it go to : https://app.holonym.id and Connect your Optimism Wallet
And Easily Follow the instruction
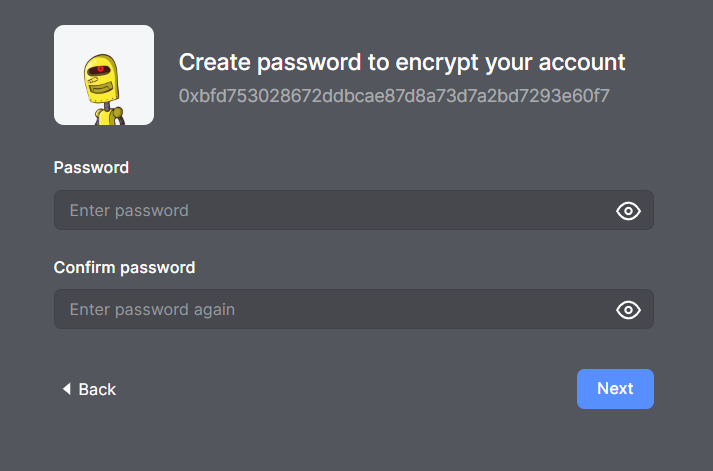
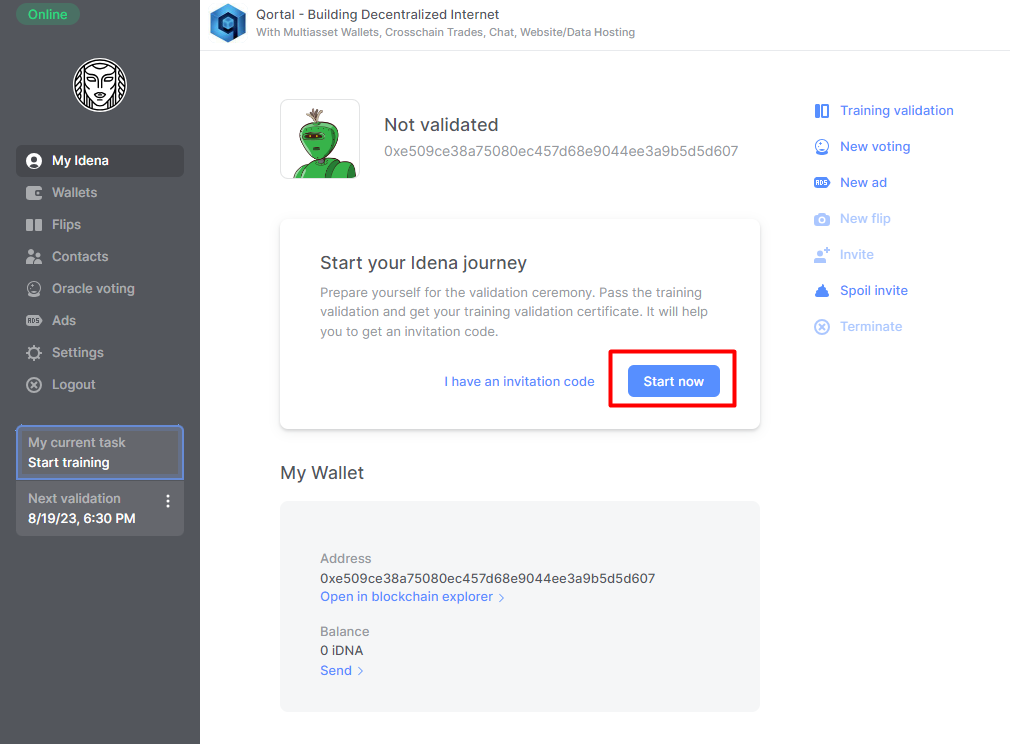
Step 24 : Idena

Go to : https://app.idena.io/home
Creat an Account
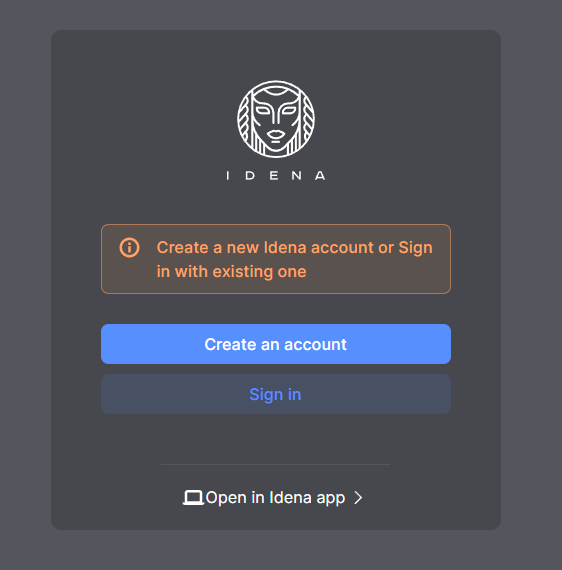
Set a Password
Start Now
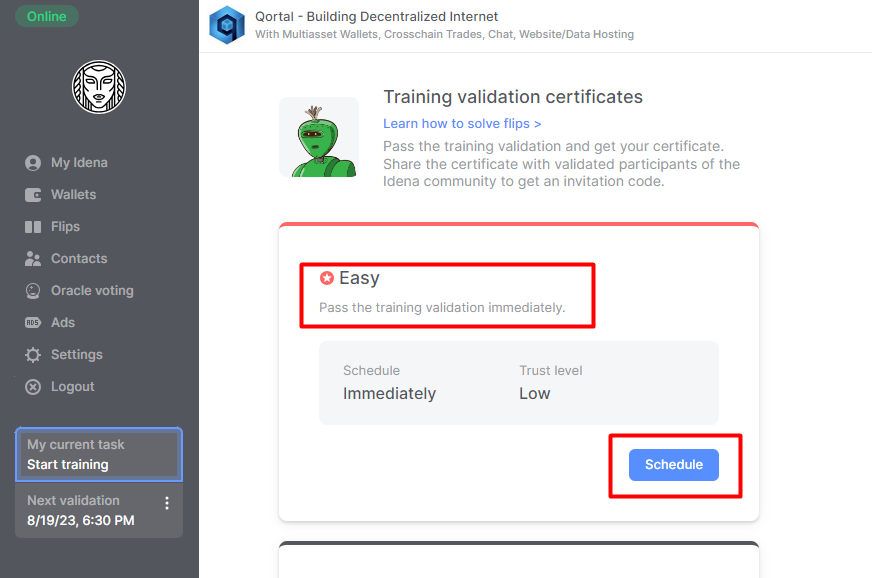
In Easy Tab Click on Schedule
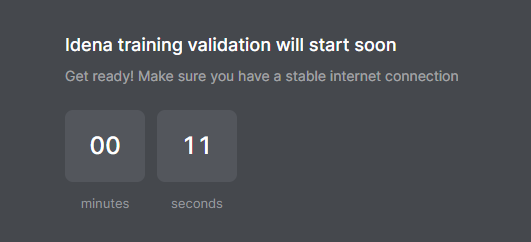
Need To wait 60Sec
Now try to complete all the puzzles; it’s kind of like reCAPTCHA
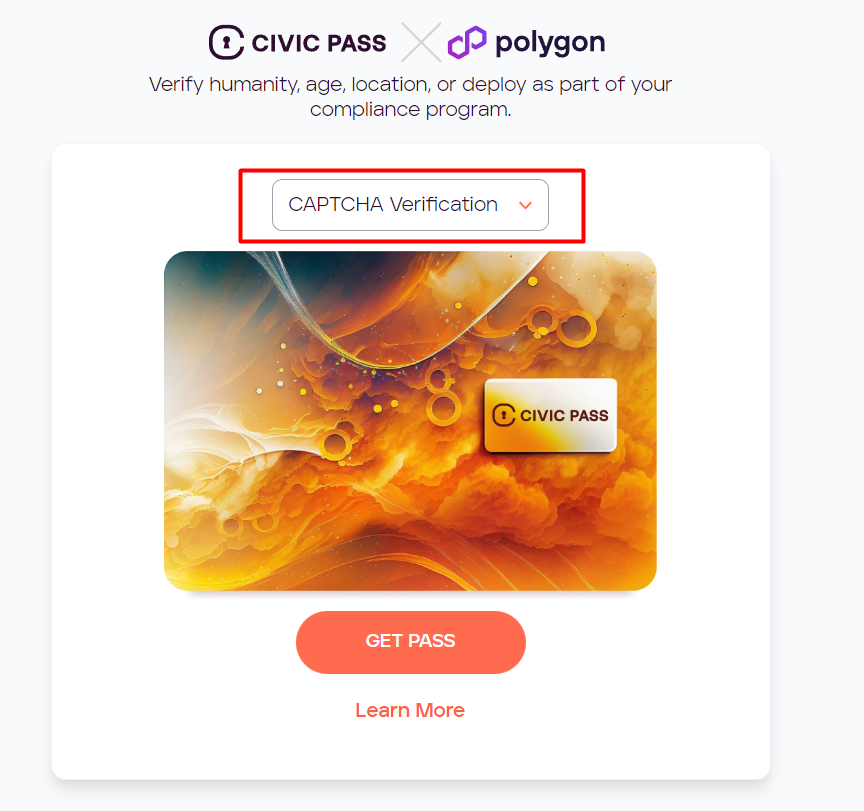
Step 25 : Civic
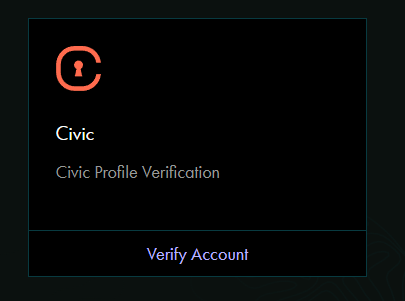
Click on Verify Account and then Get Civic Pass
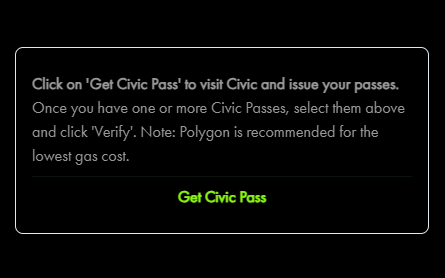
Connect your wallet ( Polygon Or Arbitrum One )
There are 3 kind of Civic Pass that just need to complete an easy Verification

For Example i go for CAPTCHA Verification
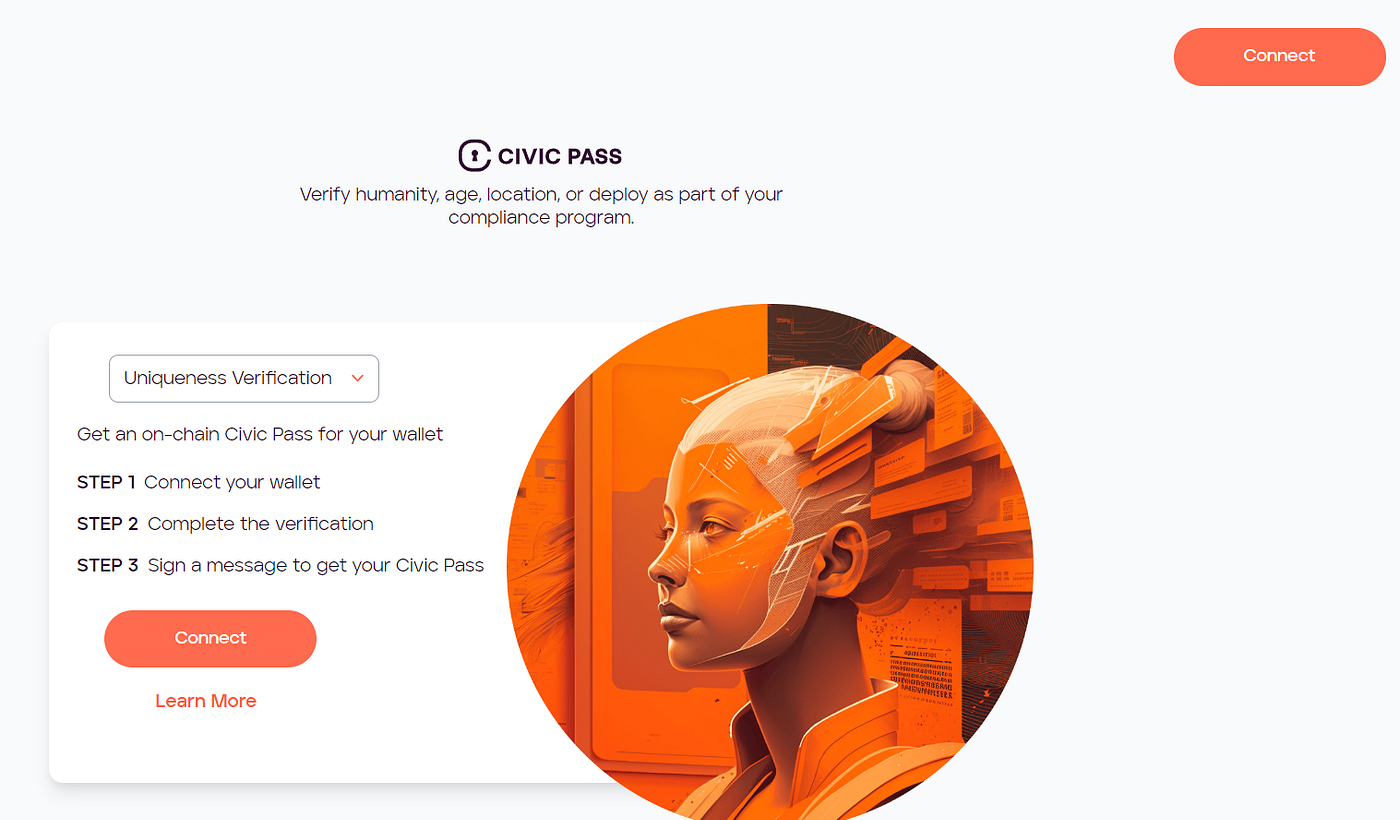
Click On Get Pass
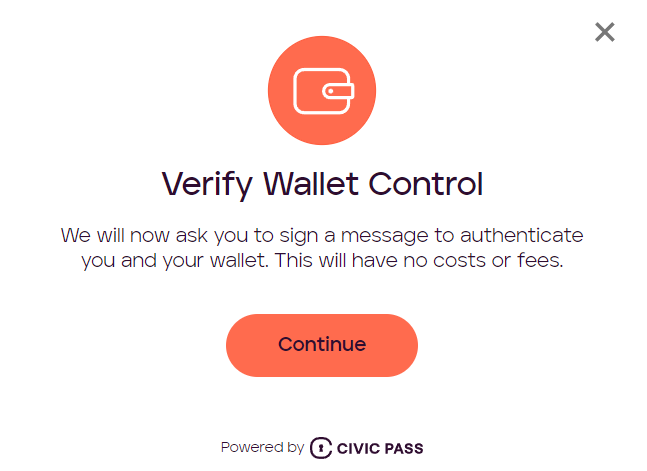
Verify Wallet Control with a Sign
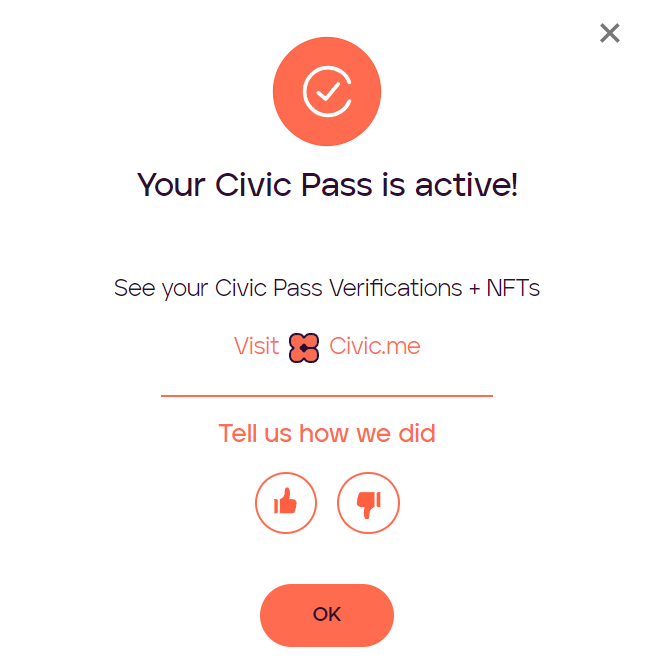
Complete Verifications
Pay the fee and Done
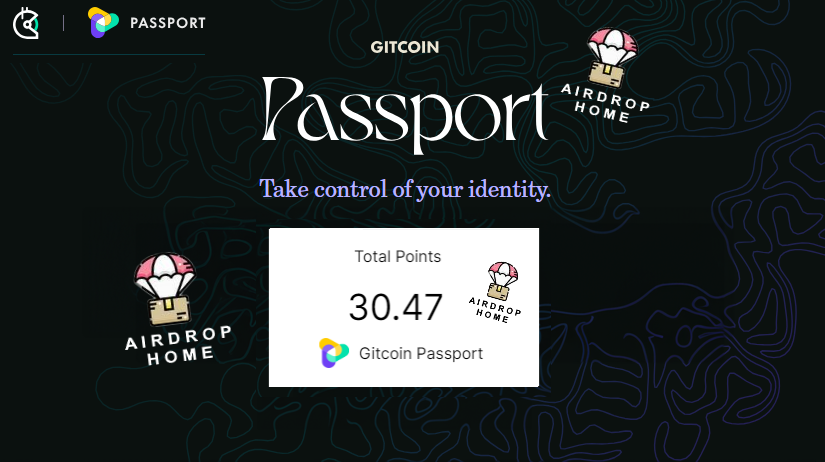
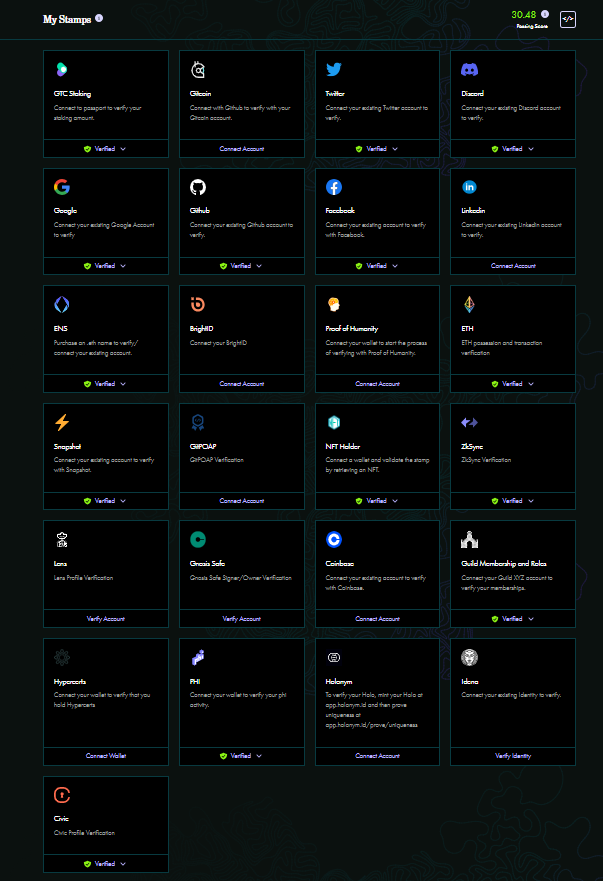
Final Gitcoin Passport Score with this Article
You can check my stamps and my score in this screenshot.
I didn’t complete that particular stamps as I think they are a little bit harder than others or concerns my privacy
30.48
That’s all, guys. I hope it’s useful.
Don’t forget to Follow Me , This helps the content creators considerably , Thanks ! ❤